Quad images
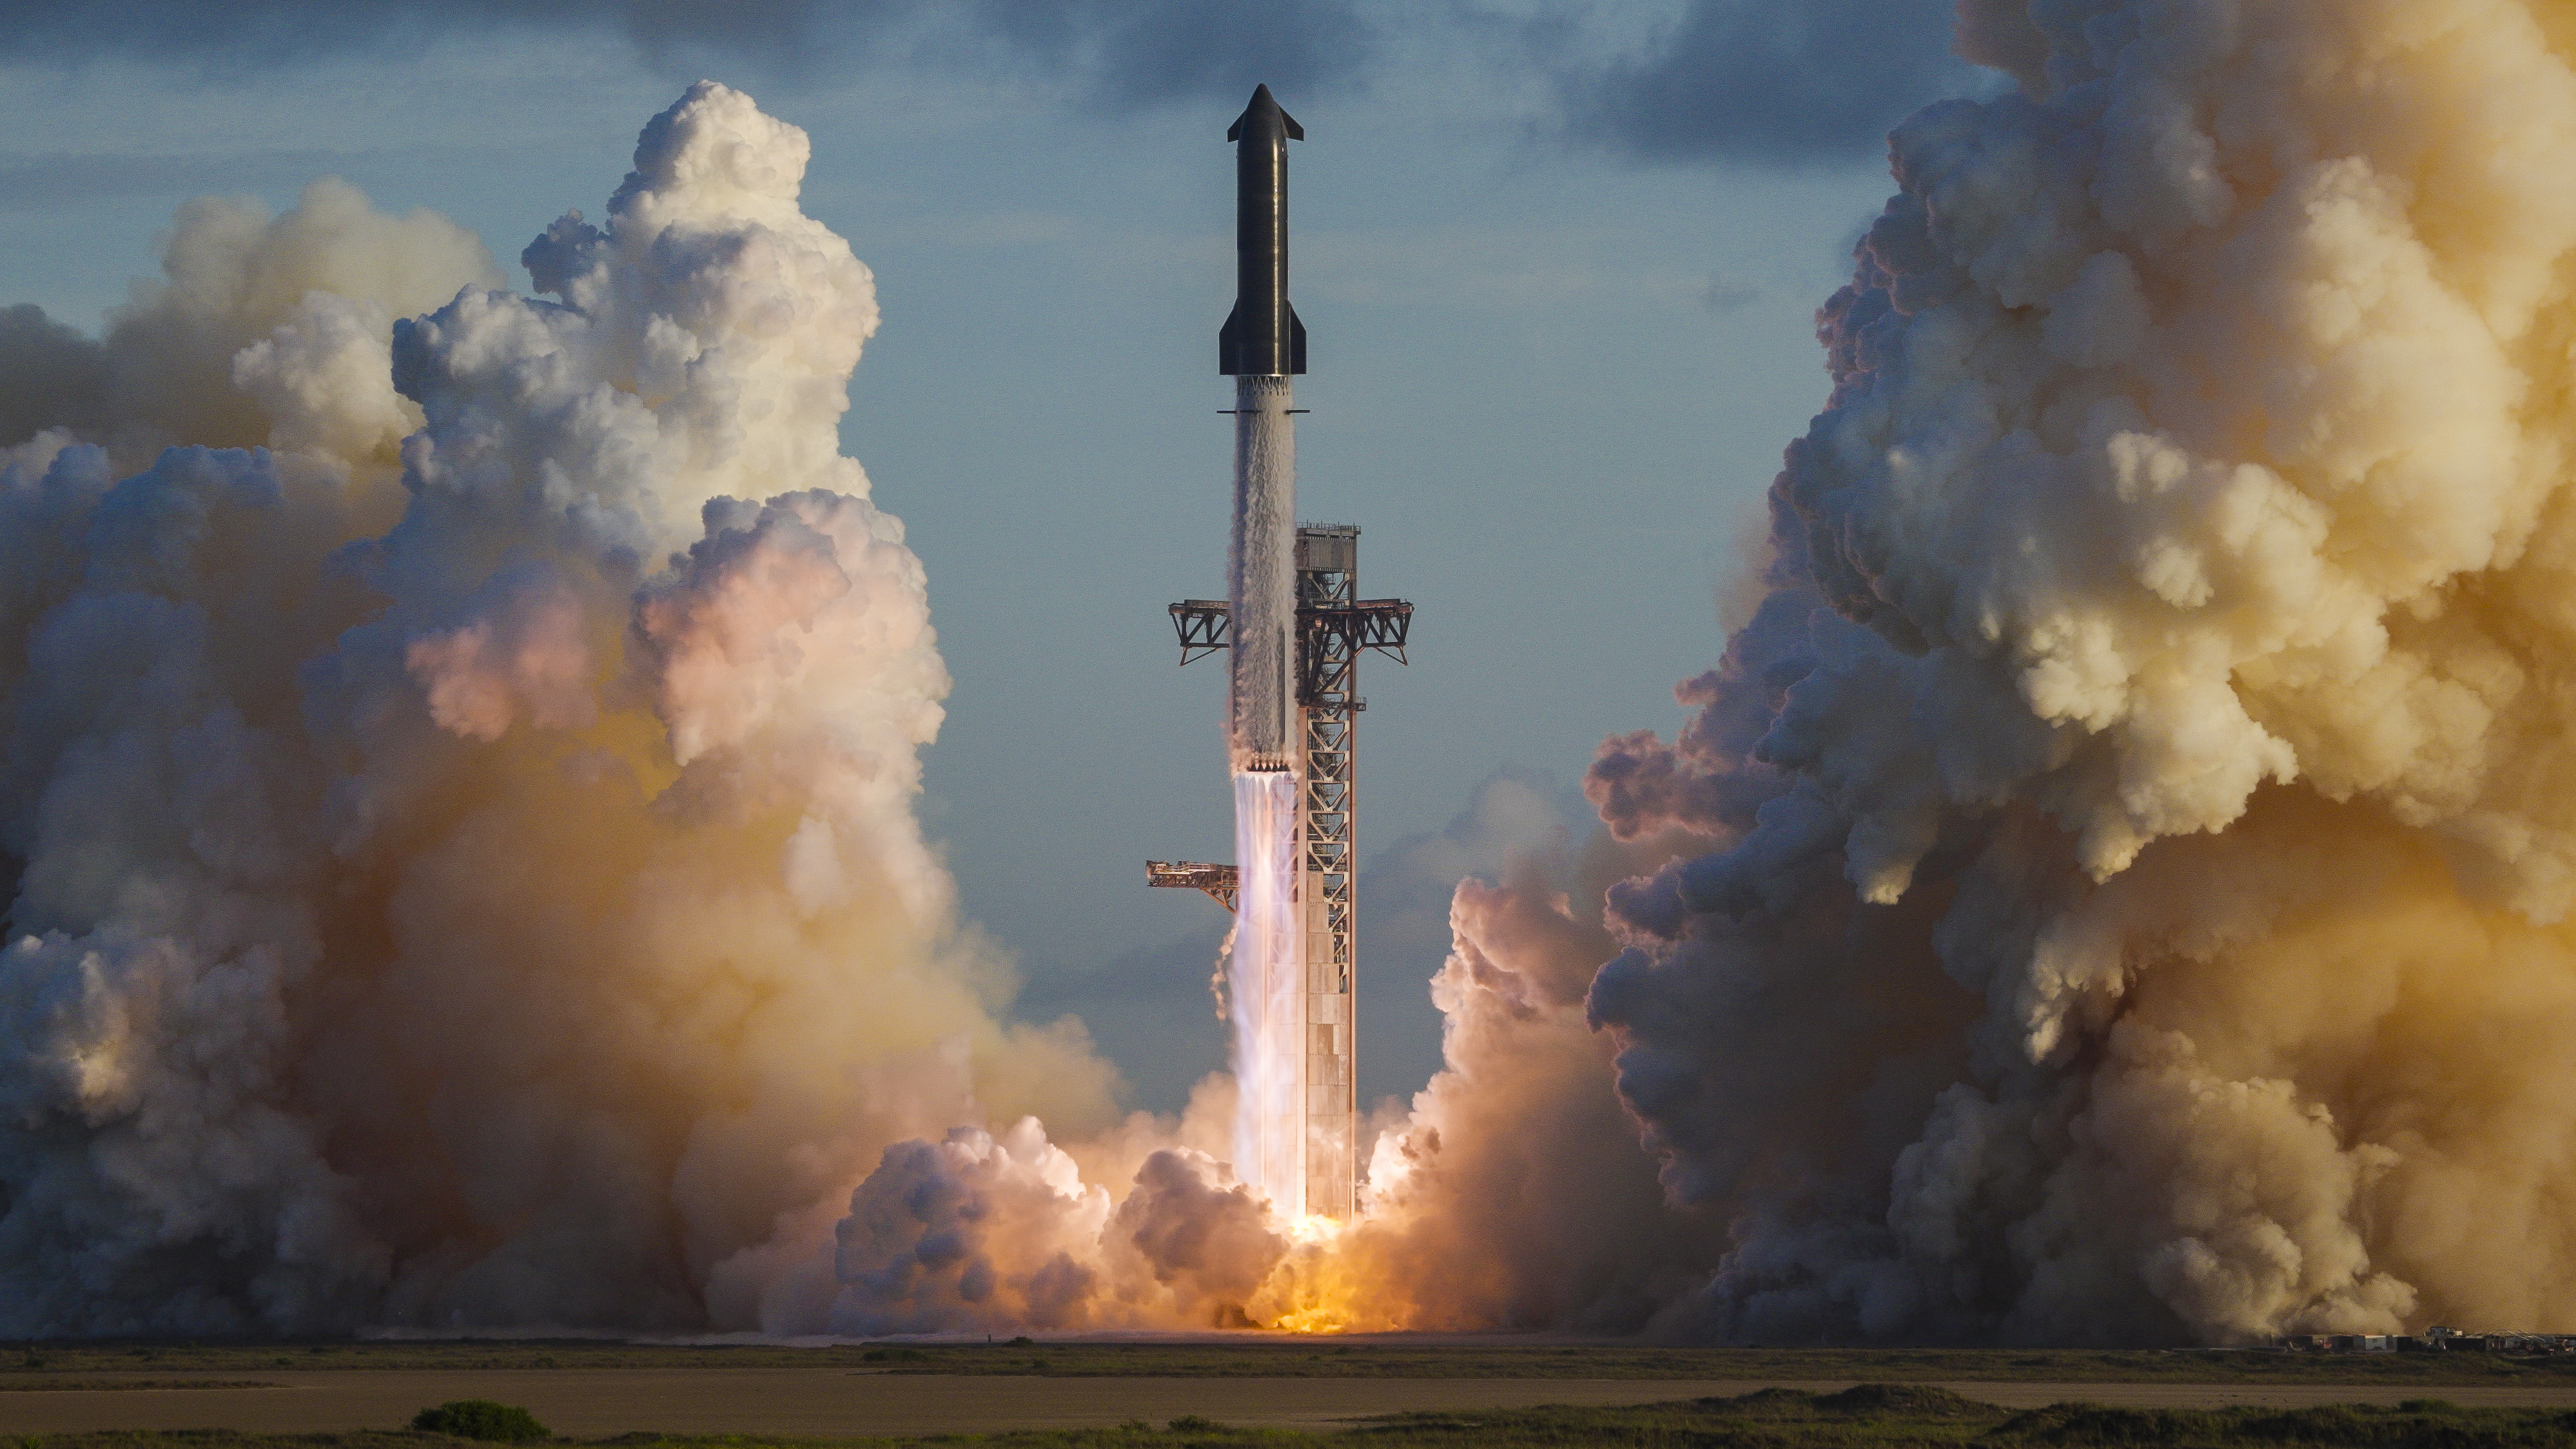
An image first appears as HTML, then hands over to the canvas. Hover or drag a finger across the first two images to stir the fluid. Cross the edges of the third to send little pieces of its palette flying.
View · clipped
Scene · unclipped
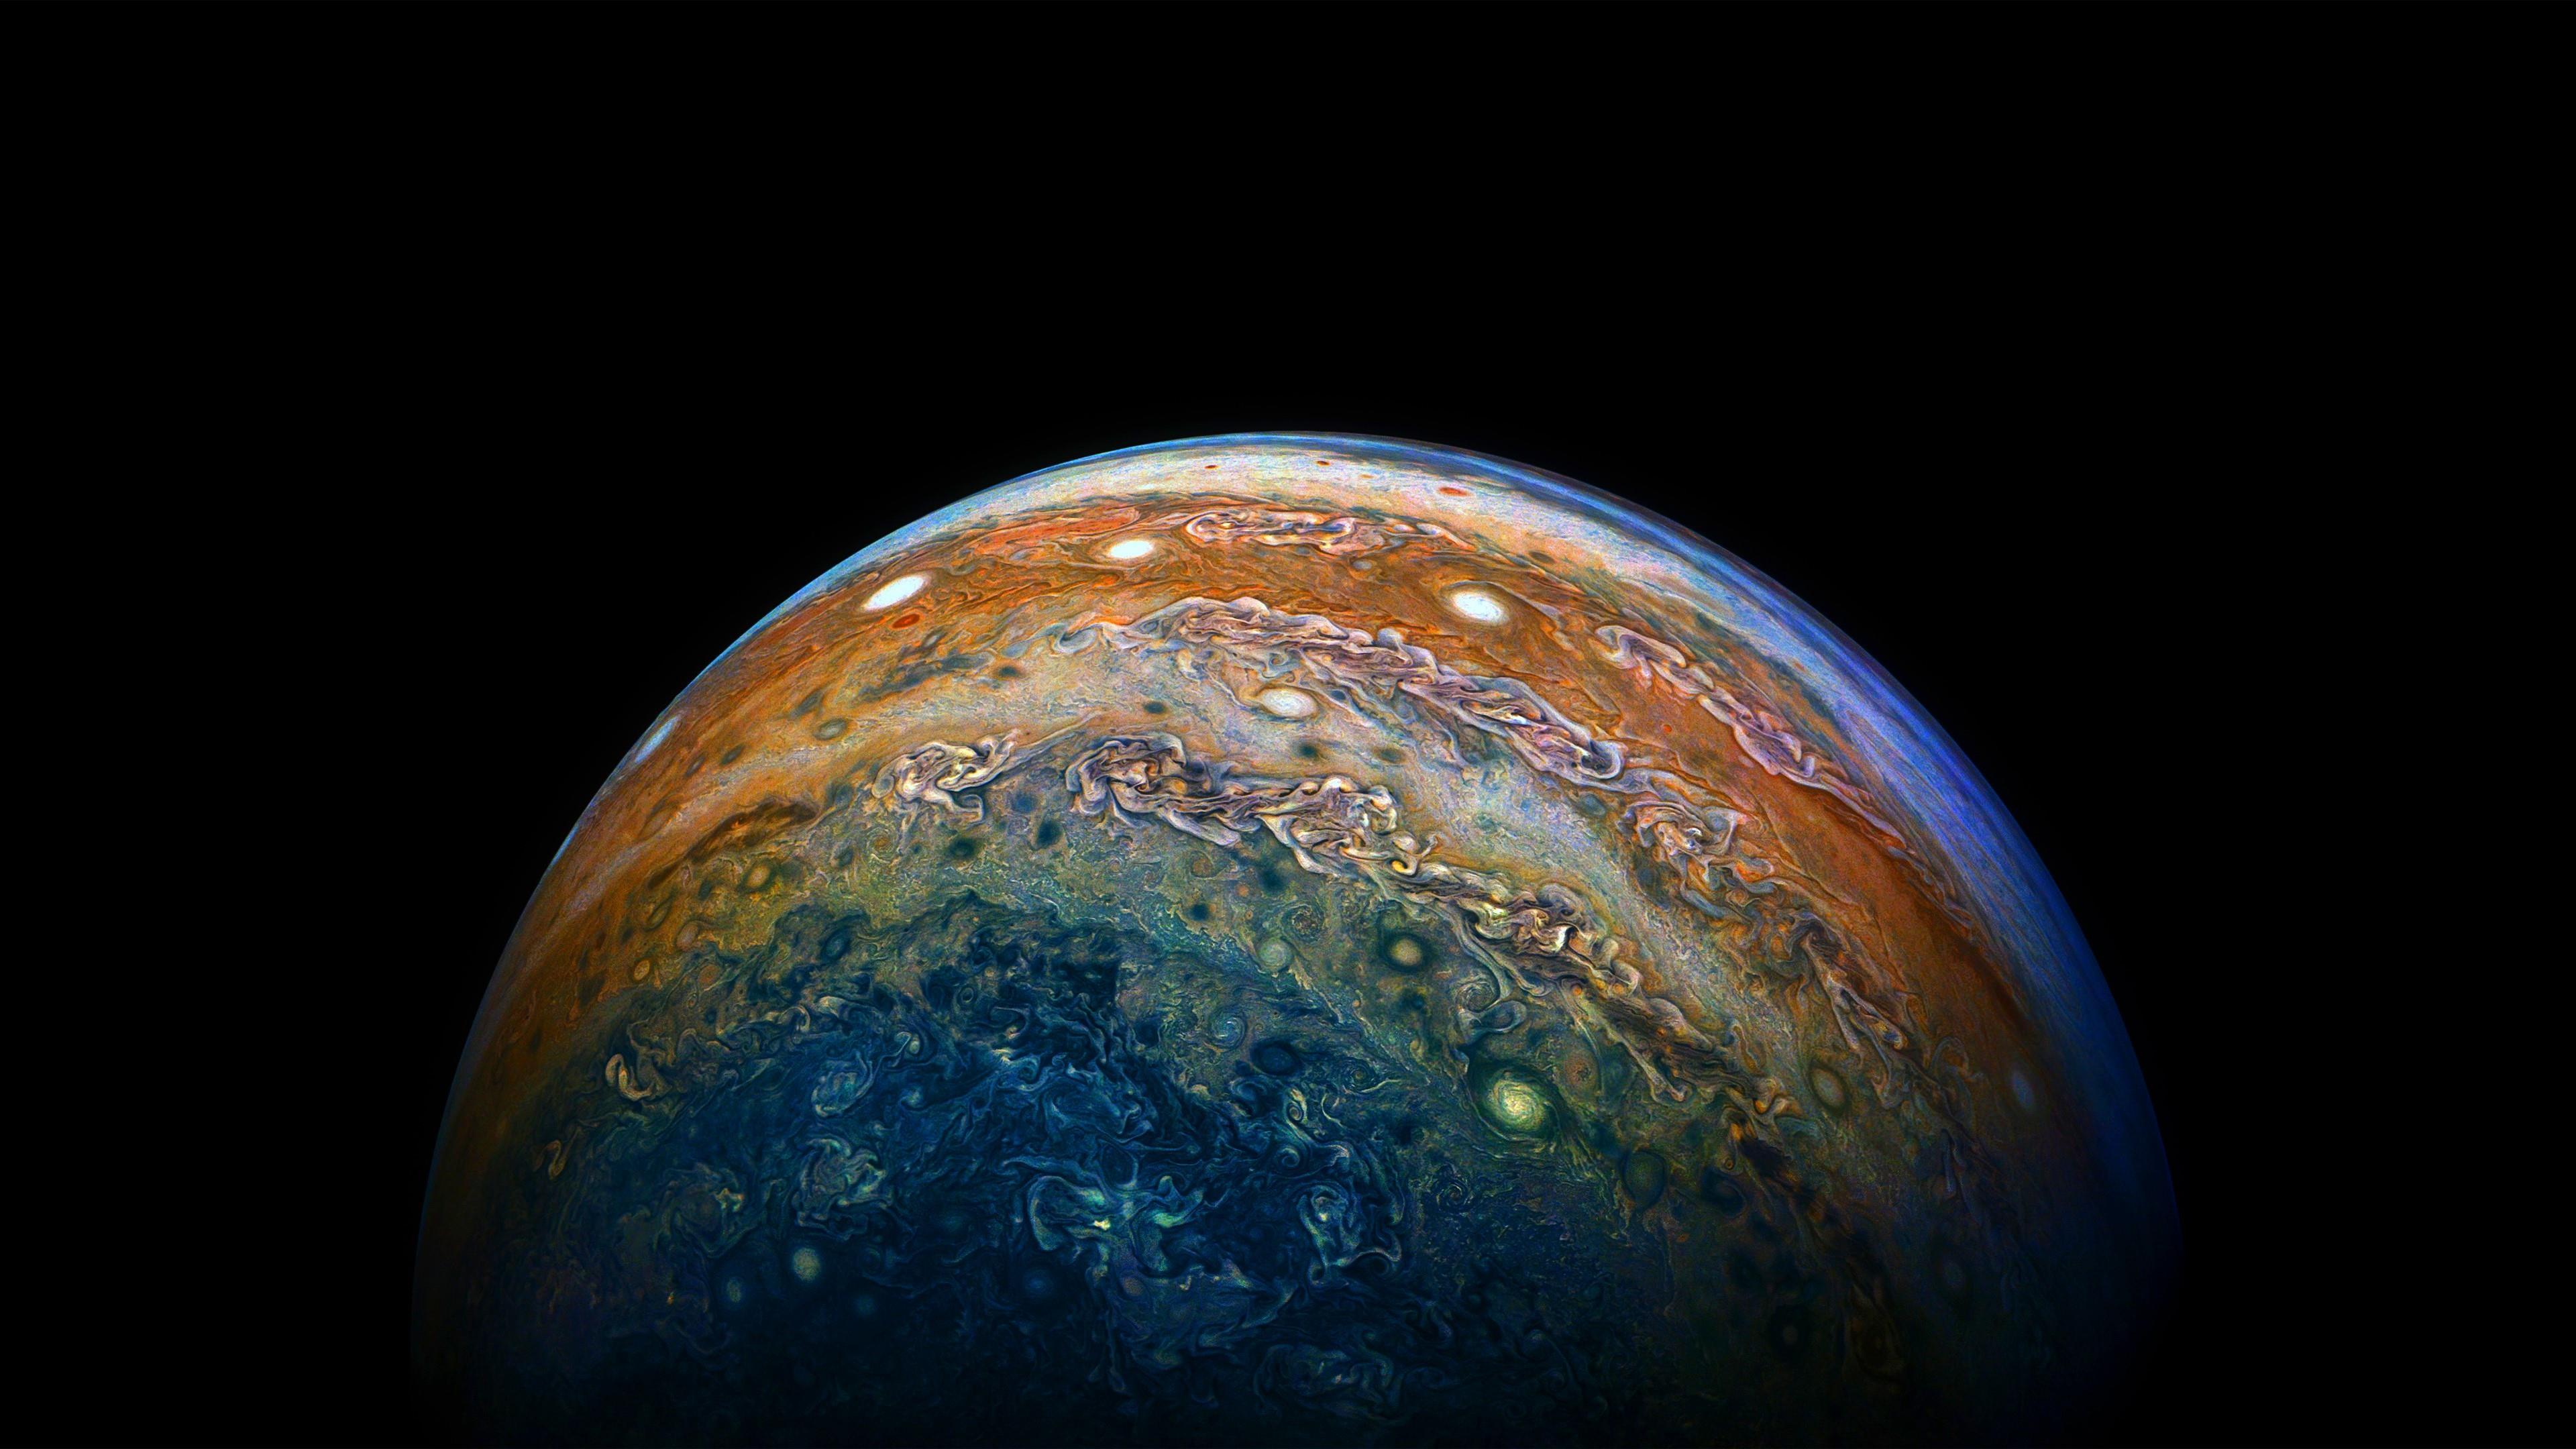
Scene · exit particles
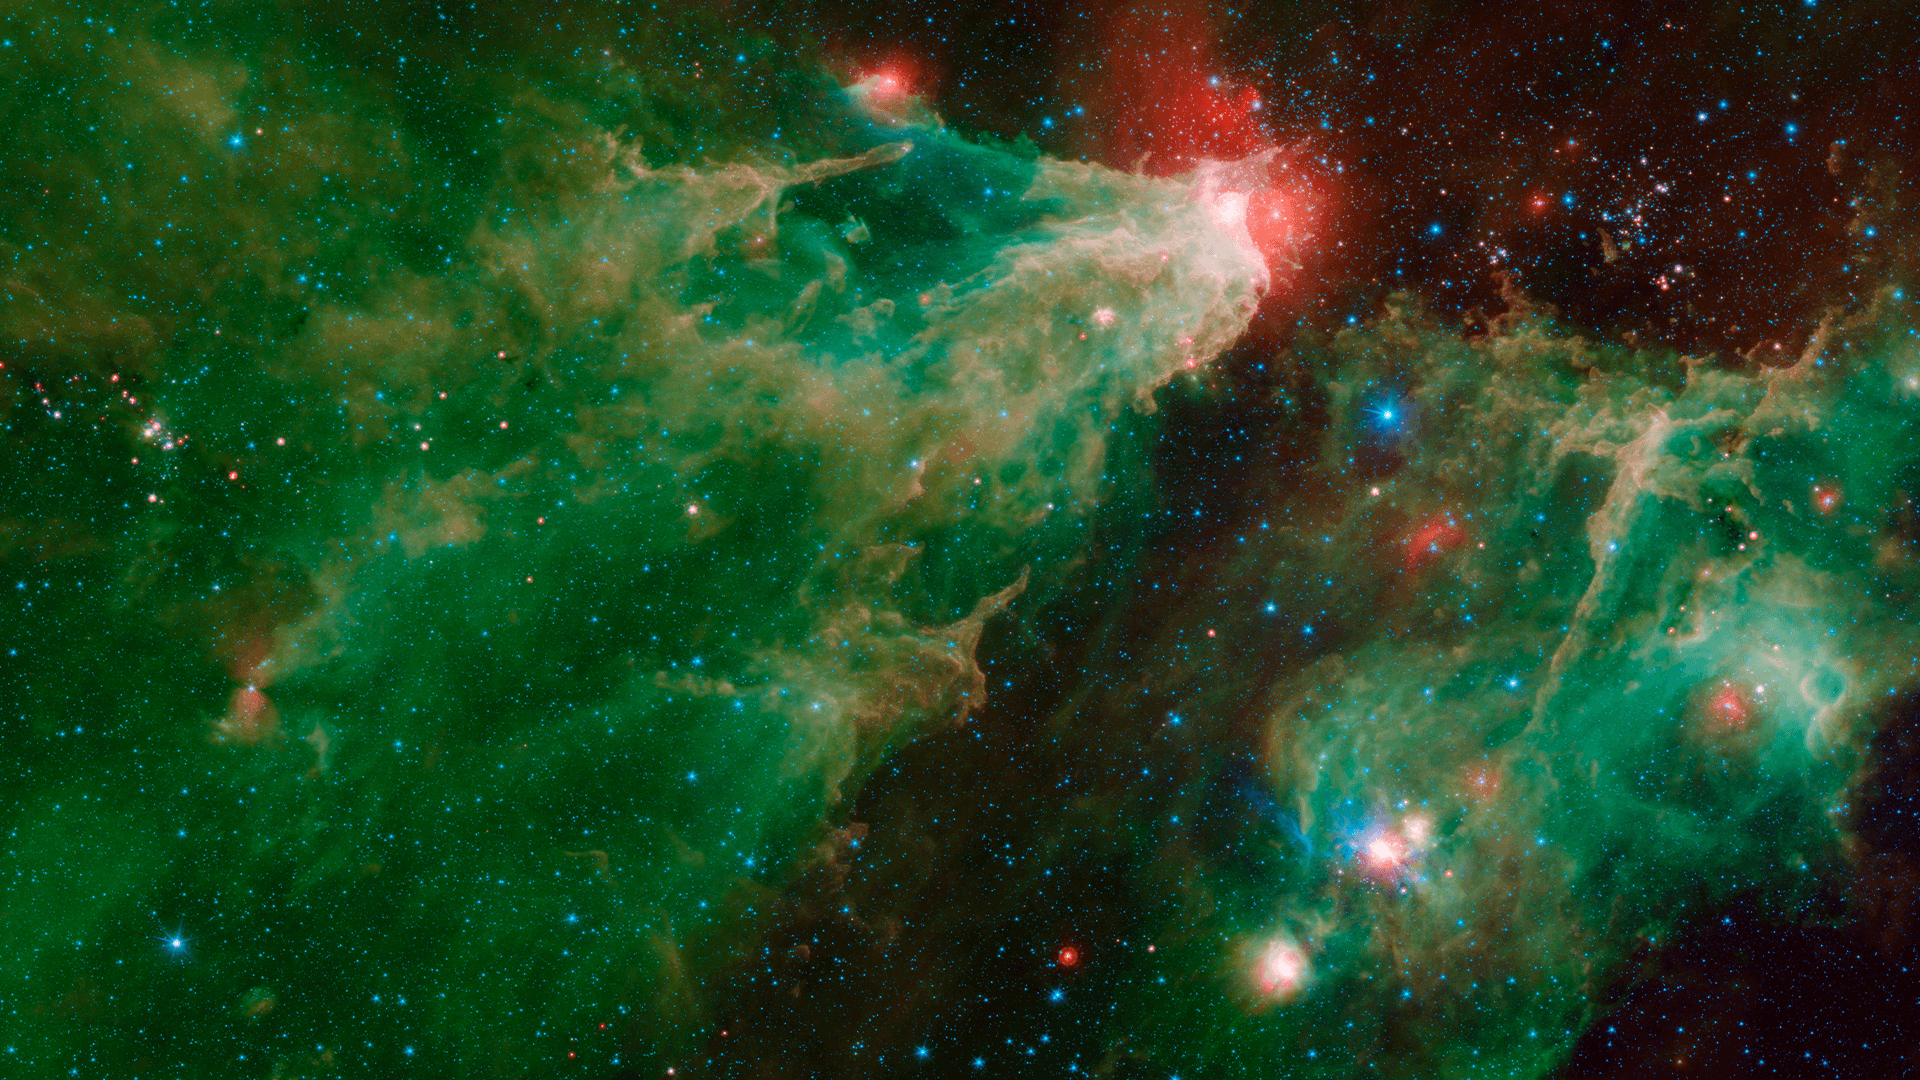
A little momentum
Each exit releases a burst in the pointer’s travel direction. The sprites pick up the image’s colors around the crossing point, then spin and fall under gravity while drag slows them down. Each has its own lifetime and fades away independently. The unclipped scene lets them fly beyond the image; reduced motion keeps it still.
Tracking · where the quad goes
The HTML element owns layout. Metri maintains its measured bounds, and PortalGL uses those bounds to position and scale a unit plane as the page scrolls or resizes. Tracking works with an element’s rectangle; its image format and pixels belong to the image-handling code below.
These excerpts follow the shared-scene variant, with an existing renderer, scene, camera, and unit plane called quad.
const image = document.querySelector<HTMLImageElement>("img[data-quad-image]")!
const world = dom.addScene({ scene, camera })
const binding = world.track(image)
binding.bindQuad(quad)

// Read cached bounds after the tracking update.
const rect = binding.tracked.rect

// On teardown, unregister this scene and its tracked elements.
world.destroy()
The clipped variant registers the image’s wrapper with dom.addView instead. PortalGL manages that view’s viewport and clipping; the demo fits its quad inside the view. The texture preparation is the same in both variants. Destroying a tracking registration releases its tracking resources; the application owns the mesh, material, and texture.
Image handling · what the quad draws
This is application code for making the GPU image resemble the native HTML image. It consumes the measured width and height, prepares a texture, and supplies it to the material. The resize function below accepts plain dimensions so its pixel work stays independent of the tracker.
1. Decode and normalize color
Wait for the browser to decode the image, then create an sRGB canvas as the texture source. Drawing into it lets the browser handle the source’s color profile. Marking the texture as sRGB lets Three.js convert its colors to linear space for shader math. The material keeps tone mapping off for these image comparisons.
await image.decode()
const source = document.createElement("canvas")
source.width = source.height = 0
const context = source.getContext("2d", { colorSpace: "srgb" })!
const map = new CanvasTexture(source)
map.colorSpace = SRGBColorSpace
quad.material.map = map
quad.material.toneMapped = false
quad.material.needsUpdate = true
2. Preserve detail while sampling
The image demo allows a display DPR of up to 3. Its texture gets another 2× of resolution to preserve detail through fractional positioning and GPU sampling: a 300 CSS-pixel-wide image at DPR 3 uses a 1,800-pixel-wide texture. This is an image-quality choice, separate from tracking the 300-pixel rectangle. It cannot create detail missing from a raster source.
// Share this cap with the ThreeDOM renderer configuration.
const maxPixelRatio = 3

// Use browser-resampled pixels instead of GPU-generated mip levels.
map.generateMipmaps = false
map.minFilter = LinearFilter
Mipmaps are progressively smaller texture copies. Their downsampling contributed to the softness and brightness differences in these photos. Here, the browser resizes the source and the GPU uses linear filtering to sample it.
3. Resize and upload only when needed
Recheck the dimensions and DPR before rendering. Scrolling changes position; it does not require another image upload. When the required pixel dimensions change, release the old GPU storage, resize the canvas, redraw, and request an upload. The texture object stays the same so the fluid and particle shaders keep their existing references.
function updateImageSource(rect: { width: number; height: number }) {
  const dpr = Math.min(window.devicePixelRatio, maxPixelRatio)
  const width = Math.max(1, Math.ceil(rect.width * dpr * 2))
  const height = Math.max(1, Math.ceil(rect.height * dpr * 2))
  if (source.width === width && source.height === height) return

  map.dispose()
  source.width = width
  source.height = height
  context.imageSmoothingQuality = "high"
  context.drawImage(image, 0, 0, width, height)
  map.needsUpdate = true
}
4. Release owned image resources
The application also disposes its texture, material, and geometry when the demo unmounts. Removing a tracking registration does not dispose these assets. The implementation collects this cleanup in a Disposer.
// After stopping rendering and unregistering the scene:
map.dispose()
quad.material.dispose()
quad.geometry.dispose()
5. Use the same path for raster images and SVGs
JPEG, PNG, and SVG all arrive through the same image.decode() and drawImage() path. The browser rasterizes SVG when drawing it into the canvas. Photos still benefit from the resizing, color handling, and filtering above, so dropping SVG support would remove its test coverage without removing this image-preparation work. None of these format choices changes the tracker.
Connect them in the render loop
The application owns one loop: update measurements and tracking, pass the cached dimensions to image handling, then render. After decoding, populate the texture before preparing the scene. Keep the HTML image visible until a draw in the live frame succeeds; the data-quad-ready CSS rule then hides its pixels while preserving layout, alt text, and pointer input. Loading or preparation failures keep the native fallback visible.
// One initial measurement fills the texture before GPU preparation.
updateImageSource(await metri.measure(image))
await dom.prepare()

// Extend the existing application loop.
let drawn = false
quad.onAfterRender = () => { drawn = true }
renderer.setAnimationLoop(time => {
  dom.advance(time)              // Measurement, tracking, and quad placement
  const rect = binding.tracked.rect
  if (rect) updateImageSource(rect) // Image pixels and GPU upload

  drawn = false
  dom.render()
  if (drawn) image.setAttribute("data-quad-ready", "")
})

// On teardown, restore the native image.
image.removeAttribute("data-quad-ready")
A fluid wake, in TSL
Fluid, edge bending, and particles are custom demo effects. They use the tracked rectangle for interaction and the prepared texture for color; their simulation and shaders are application-owned.
Pointer movement pushes a small velocity field across the image. Advection carries the wake forward, and eight pressure iterations help the flow curl around itself. Both images share one simulation texture, with an isolated region for each image. Each region follows its image’s coordinates, so trails stay where they were emitted instead of transferring between images during scrolling. The fluid refracts their pixels, separates the color channels slightly, and brightens the trail. Only the unclipped scenes bend their subdivided planes when the pointer crosses an edge. The travel direction places an impulse on that edge: inward on entry, outward on exit, with a damped spring returning it to rest in TSL. This vertex movement is independent of the fluid. The clipped view keeps its vertices fixed. The shared simulation fades to rest when you stop moving and is disabled when reduced motion is preferred.